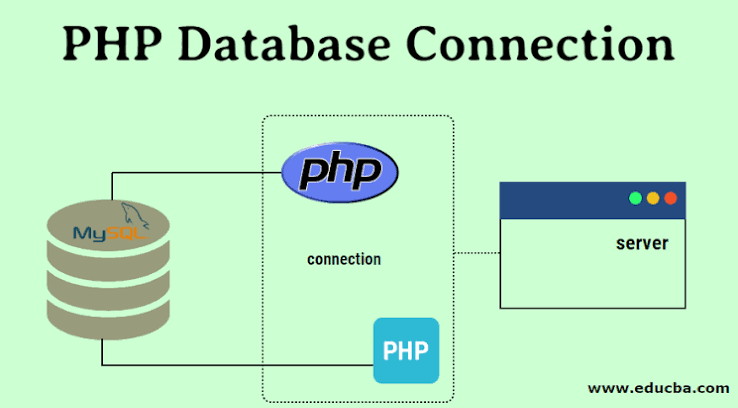
Connecting a website to a MySQL database
Connecting a website to a MySQL database is the process of linking your visual front-end (what the user sees) to your digital filing cabinet (where information is stored). Without this connection, a website is just a static brochure; with it, the website becomes a dynamic application capable of remembering users, tracking inventory, and saving content.
Here is an abstract conceptual breakdown of how this bridge is built, entirely without code.
1. The Core Infrastructure: The Three-Tier Architecture
To connect a website to a database, three separate layers must learn to talk to each other in a specific order. The front-end cannot talk directly to the database for security reasons, so a middleman is required.
The Presentation Layer (The Client): This is the web browser (like Chrome or Safari) where a user interacts with buttons and forms.
The Logic Layer (The Middleware / Server): This is the backend engine (running a language like Python, PHP, or Node.js) hosted on a web server. This layer acts as the translator and security guard.
The Data Layer (The Database): This is MySQL, running either on the same server or a dedicated database server, waiting to receive highly structured instructions.
2. Step 1: Establishing the Handshake (The Credentials)
Before any data can flow, the Logic Layer must log into the MySQL database. This is known as establishing a connection string or a "handshake." The backend server presents four specific pieces of identification to MySQL to gain access:
The Address (Host): Where the database lives (usually a specific network address or IP address).
The Database Name: The specific digital cabinet inside MySQL that this website is allowed to open.
The Identity (Username) & Secret (Password): The unique security credentials created specifically for that website's application server.
Once MySQL verifies these details, a secure pipeline (or "session") is opened between the backend server and the database.
3. Step 2: Passing the Message (The API Framework)
Once the pipeline is open, the backend server uses a built-in software driver (like an intermediary translator) to communicate.
Think of this driver as a mail carrier. When a user performs an action on the website (like searching for a product):
The web browser sends a request to the backend server.
The backend server translates that request into a standard database query.
The mail carrier (the driver) carries that query through the secure pipeline to MySQL.
4. Step 3: Processing and Returning Data
When MySQL receives the message from the mail carrier, it executes the command:
If the website asked to read data (like loading a user profile), MySQL searches its disks, bundles the requested rows together, and hands them back to the mail carrier.
The mail carrier runs back down the pipeline and delivers the raw data to the backend server.
The backend server formats that raw data into pretty HTML or JSON that the web browser can easily display to the user.
5. The Concept of "Connection Pooling"
In a beginner scenario, a website opens a connection, does its job, and closes it. However, if thousands of people visit a website at the exact same time, opening and closing thousands of individual pipelines would cause the server to crash.
To solve this conceptually, developers use Connection Pooling. The website maintains a "pool" of 10 or 20 pipelines that are always kept open. When a user clicks a button, they temporarily borrow an open pipeline for a fraction of a second, pass their data, and immediately give it back to the pool for the next user to use.